 Loading... Please wait...
- Home
- Solaris Blog
- Essential Tools for Solar Installations
Products
- Heating and Cooling
- Outdoor Living & Patio
- Solar Kits
- Solar Products
- Solar Panels
- Solar Panel Kits
- Solar Generators
- Inverters
- Inverter Monitoring
- Inverter Accessories
- Balance of Systems
- Racking and Mounting
- Rails
- Flashings
- Splice Kits
- Stopper Sleeves
- Conduit Mounts
- Attachments
- Brace Assembly
- Base Mount
- Brackets
- Bolts
- Clamps
- Caps
- L-Feet
- Washers
- Skirt
- Lugs
- Tilt Legs
- Hooks
- Stand-Offs
- Ballast Bay
- Top of Pole Mount
- Side of Pole Mount
- Flush Mount Kits
- Ground Mount Kits
- Roof Mount Kits
- Hardware Packages
- Wire Management
- Batteries
- Battery Accessories
- Charge Controllers
- Tools and Supplies
- View All Products
Essential Tools for Solar Installations
Posted by Brandi Casey on 8th May 2017
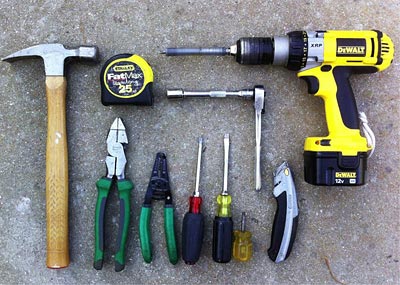
Although solar systems require common household tools such
as a screw driver, hammer rails and so on, there are specialized tools designed
specifically for solar installations. Some tools are designed for simple
applications such as disconnecting solar connections, while others are more
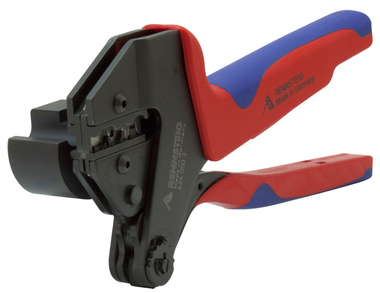
complex such as wire crimping die sets. For those who are working in a do it
yourself environment, you will primarily need to be concerned with tools for
physical applications such as installing racking, most counties require you to
have an electrician check and prepare the final connections prior to turning
the system on. That being said, having a good set of wire cutters and pliers
will be needed if you choose to do any part of the electrical installation
process. Unlike disconnect tools, these pliers and die sets can be used in
other wire applications are not limited to exclusively solar arrays.
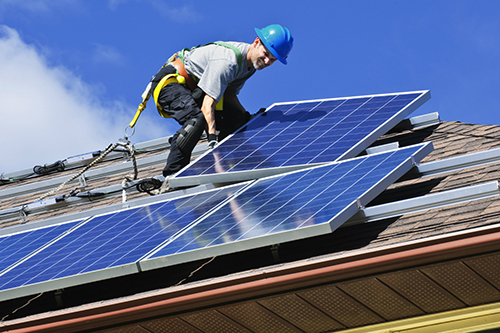
Other tools that are not commonly thought of is safety equipment. Rope, harnesses, safety glasses, gloves, earplugs, boots, hard hats and protective clothing are all designed to keep you safe while working in your installation environment. Working with multiple people is another safety measure that is highly recommended, we also suggest that any equipment you use to reach your roof are checked prior to use. Faulty ladders and old rope can not only cause bodily harm, but may also be a factor for damaged system components. On those sunny days, some sun block may also be a welcome addition to your set of equipment for personal protection.
In terms of sight design, permit services generally require
you to have detailed plans on the layout, orientation and design of your entire
system. These plans are meant to save you both time and money and should be
followed to ensure that you meet county requirements for the system. Proposing
a system with a three-foot set-back then making the system two and half feet
back can cause you to be denied for your final okay on turning your system on.
Assessing your system design can be accomplished through site tools, or through
a third party who generates a design for your system based on an aerial view of
your roof top.
Different rooftop applications may also require different tools. For pitched roof installations, a cordless drill and impact driver, drill bits, sockets, utility knife and caulking gun will cover most your essentials. Flat roof installations are simple due to the racking equipment typically used, in most cases a ballast system where weights instead of connectors hold the PV array in place. For tilt leg systems such as those produced by IronRidge, installers should plan to have the same tools needed in a rooftop application in hand. Ground mount installations are more depth and require holes to be dug to anchor posts in concrete. In addition to concrete, installers should also be aware that they will need to source the piping for any ground based application as manufacturers do not include poles for any ground based application. In terms of the racking itself, most racking manufacturers produce components that have one socket size, they also typically recommend a torque wrench to install all of the bolts in the system to ensure that they are all set to the correct setting and match one another. Although this may be slightly more time consuming, it will ultimately ensure that your system is installed correctly, with all components firmly in place.
Grounding your racking system has become fairly integrated into racking applications. Grounding lugs, bolts and even integrated grounding into the railing system are now common place, and most installers will not need to source these grounding components from outside sources. Checking all wiring connections and utilizing the tools mentioned above will also be essential before turning your system in the on position and enjoying your new clean, renewable energy source.


