 Loading... Please wait...
- Home
- Solaris Blog
- Five Steps for DIY Solar Power System
Products
- Solar Panels
- Solar Panel Kits
- Solar Generators
- Inverters
- Inverter Monitoring
- Inverter Accessories
- Balance of Systems
- Racking and Mounting
- Rails
- Flashings
- Splice Kits
- Stopper Sleeves
- Conduit Mounts
- Attachments
- Brace Assembly
- Base Mount
- Brackets
- Bolts
- Clamps
- Caps
- L-Feet
- Washers
- Skirt
- Lugs
- Tilt Legs
- Hooks
- Stand-Offs
- Ballast Bay
- Top of Pole Mount
- Side of Pole Mount
- Flush Mount Kits
- Ground Mount Kits
- Roof Mount Kits
- Hardware Packages
- Wire Management
- Batteries
- Battery Accessories
- Charge Controllers
- Tools and Supplies
- View All Products
Five Steps for DIY Solar Power System
Posted by Brandi Casey on 15th Mar 2018
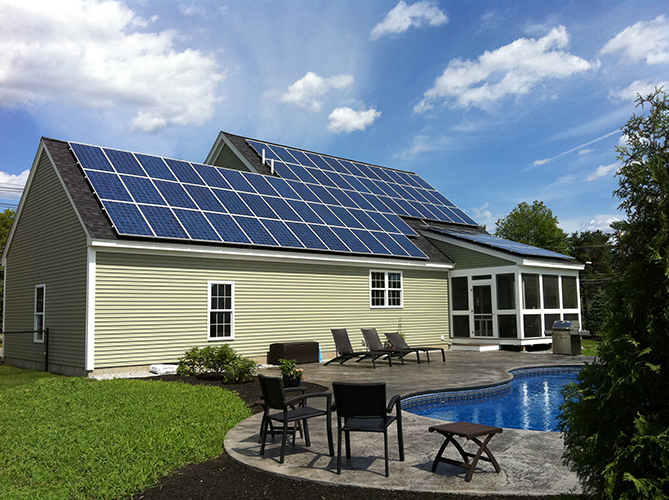
There are a myriad of tools online to assist you in determining what kind of solar power system you will need for your specific energy needs. However, complicated formulas, industry speak and new sizing terms such as kilowatts hours verses kilowatts can make the process difficult. We have complied a list of important things to remember when beginning your solar journey
1) Size Your System
In order to properly size your system, you will need to
calculate your total kilowatt hours per year. Your kilowatt hour usage will be
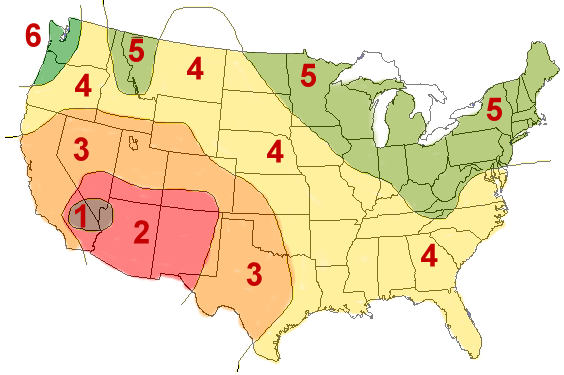
listed on your energy bill. To determine your sun hours refer to the diagram
listed below.
*Example of Monthly Energy Usage
| January | 1,516 kWh |
| February | 1,159 kWh |
| March | 1,215 kWh |
| April | 1,275 kWh |
| May | 1,073 kWh |
| June | 1,322 kWh |
| July | 1,746 kWh |
| August | 1,417 kWh |
| September | 1,307 kWh |
| October | 1,389 kWh |
| November | 1,313 kWh |
| December | 1,374 kWh |
Total = 16,106 kWh
Array Size (kW) = (Annual kWh usage) / (365 days/year) / (Solar Hours/day) / (0.82 derate factor)
Example: Array Size (kW) = 16,106 / (365 days/year) / 4.5 / (0.82
derate factor) = 11.95kW
Zone 1 - 6 hours
Zone 2 - 5.5 hours
Zone 3 - 5 hours
Zone 4 - 4.5 hours
Zone 5 - 4.2 hours
Zone 6 - 3.5 hours
2) Pick the Place - Solar Racking
Will you be mounting your system on your roof? You will need
to ensure that you take accurate measurements. Keep in mind that many counties
have fire codes which require the panels to lay back from the roof. This
measurement varies and will need to be confirmed prior to design drawings. Mark
any obstructions on the space you are working with and plan your racking array
accordingly.
IronRidge has a great racking tool that allows you to customize
your array. You will need to know what solar panels you will be using before
you use any racking tools, more about solar panels is listed down below.
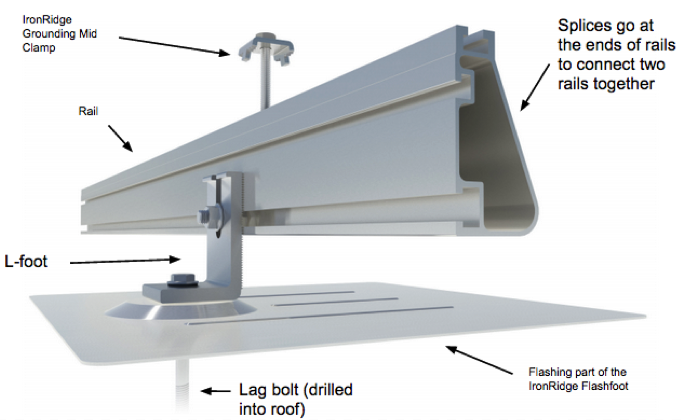
*IronRidge Roof Mount Components
Ground mount systems will need to ensure that they budget
schedule 40 poles as ground mount racking comes with the top attachments only.
You can also get a bill of materials and installation guide from IronRidge from
their sizing tool.
Top of pole mounts have sizing parameters which can be found
on the manufacturers website, or in the specifications sheet, which is listed
on our site at the bottom of the Product Details. One of the oftentimes
overlooked aspects of using a ground mount system is wiring back to its
connection point to the house. Wire size ranges will vary depending on your
location and whether your cable will be above ground or below ground. You can
determine the proper wire size range from your county, or electrician. Your
local hardware store will carry PV wire and likely have knowledge of what cable
size you will need depending on your application.
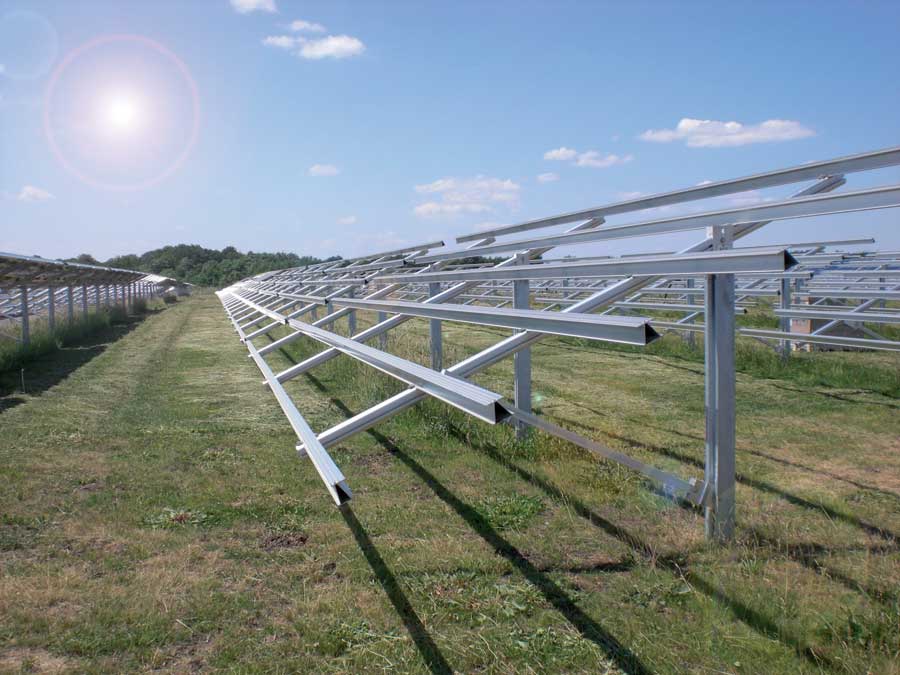
*Ground Mount Solar Racking System
Specialized systems such as those on RVs, boats and are typically customized by the installer. Rails from manufacturers can be used, however DIYers should keep in mind that any alterations to the rails such as cutting them or putting holes in it will void the manufacturer warranty. In the case of special applications warranty periods should be discussed with the manufacturer prior to purchase.
3) Determine Your Modules
Module selection can take place in a number of things that
people commonly look for in panels, price, quality, design and size. Price
varies from manufacturer to manufacturer, popular modules to look at, in order
from lower to higher cost are
Canadian Solar, Solar World and Panasonic.
However, new manufacturers like
Silfab and Solaria are rising quickly in
popularity. In terms of quality, most panel manufacturers have an efficiency
rating between 15 to 19 percent with 10-year limited warranties and 25-year
extended warranties.
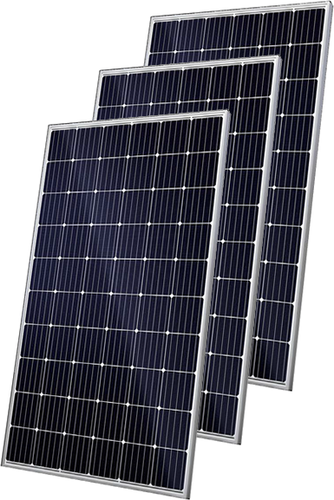
*Canadian Solar Panels
Polycrystalline panels usually have a blue tone while mono panels have a black tone. This is not the case for all panels but is something to check for in the spec sheets for the particular series you are looking at. Those who want a sleeker design typically look for black on black panels or BOB, which means that the panel has a black frame and a black back sheet. These options are purely aesthetic, if you want a cohesive design be sure to check for black racking options as well. Wattages in the current market vary between 280 to 350 watts for residential and commercial systems. Higher wattage panels are now fully compatible with microinverters as Enphase Energy’s new IQ series can handle up to 400w+ solar panels. Since the industry is moving in a higher-watt direction, panels above 300 watts are more likely to still be available if you plan on adding onto your system in the future. Dimensions of solar panels may need to be considered particularly when there are space limitations, in this case design tools, accurate measurements and checking the specifications sheets of the modules is important. Most heights of modules range between 60 to 75 inches in height and 35 to 45 inches in width.
4) Decide Your Inverter Type
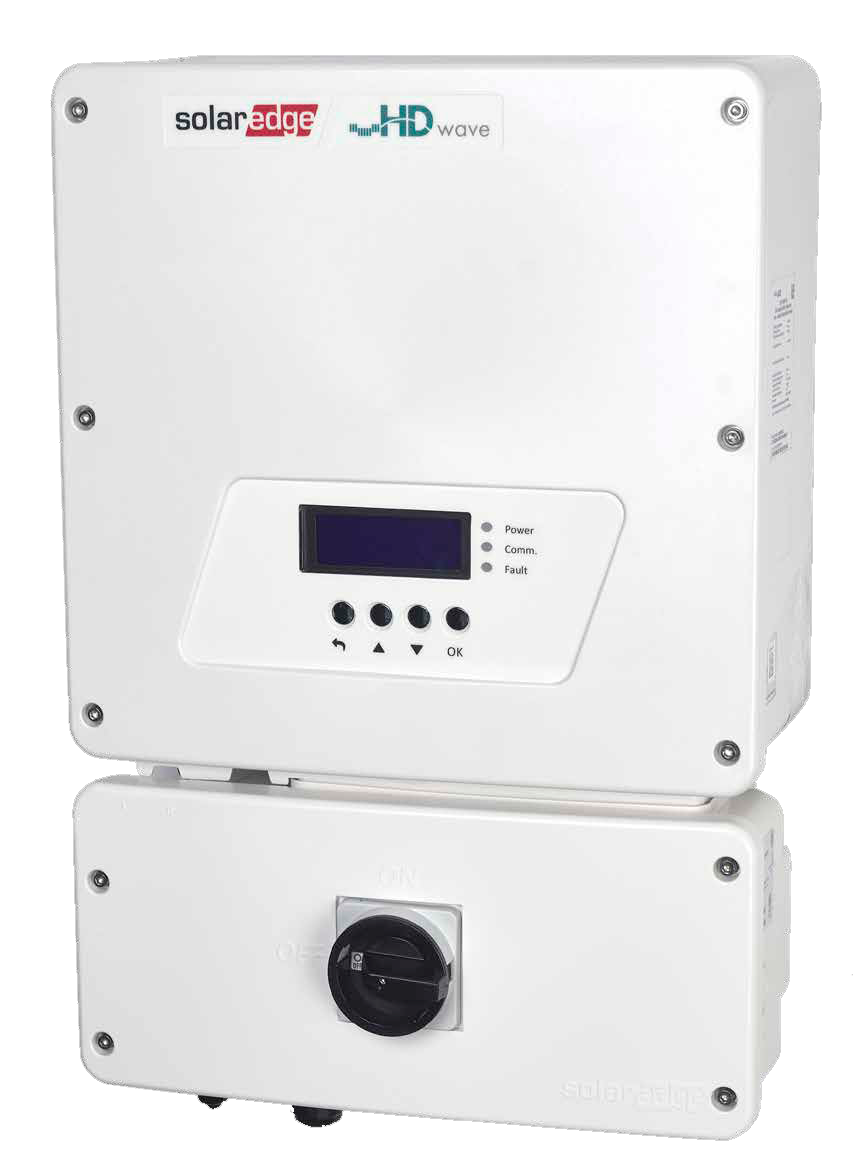
*SolarEdge HD Wave Inverter
Typical residential systems will use either a string
inverter or a microinverter.
String inverters are typically less expensive,
though they may require additional components to provide system monitoring.
Such is the case with
SolarEdge inverters, in order to fully run and monitor
the system, you will need their power optimizers to do so.
Power optimizers
have many of the benefits of microinverters in that they assist with shading,
and ensuring optimal power performance.
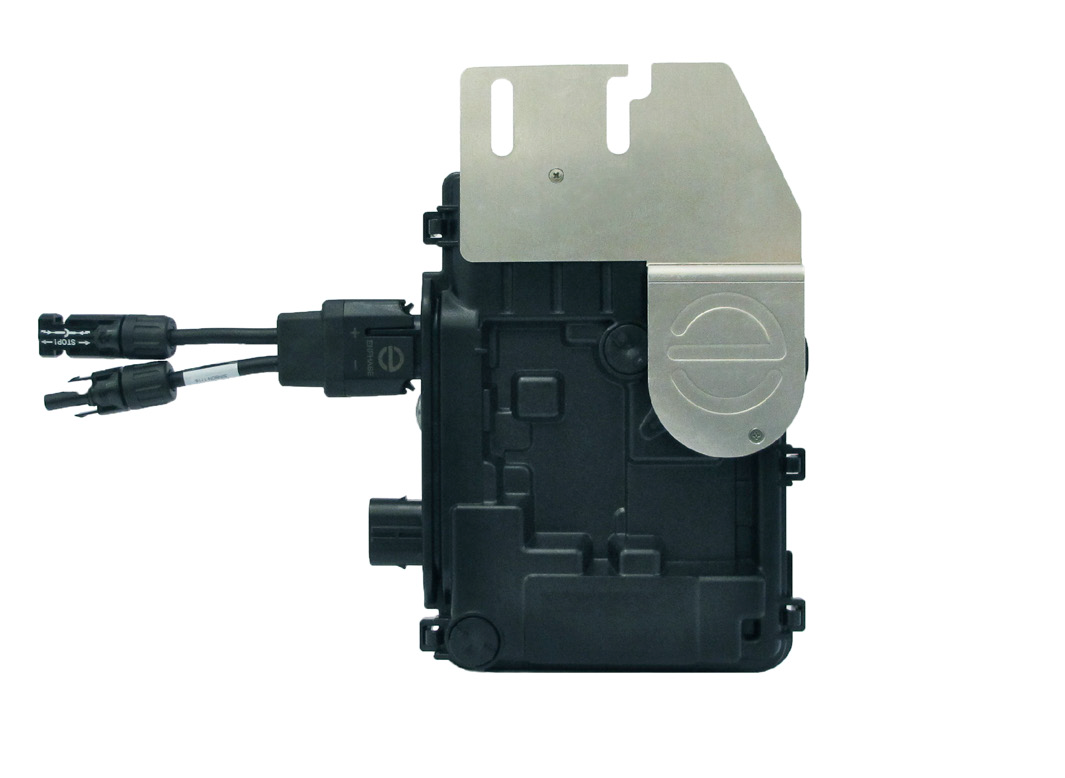
*Enphase Energy IQ Microinverter
Microinverters are installed on each panel and are often more expensive to install initially. However, their warranties are longer than string inverters, and if one inverter or panel goes out the rest of the system will continue. The Enphase IQ and IQ+ series as noted above work well with high watt modules. If you plan on adding onto your system in the future, microinverters may offer more flexibility; however if you prefer a string inverter system then you can size up to plan for future energy additions. Keep in mind that you shouldn’t size up to high, if there is not enough input voltage to the inverter then your system will not be efficient, if work at all. SolarEdge’s inverter sizing tool is very useful in determining how high and low you can go on your system. If you would prefer to have someone handle the design, send your project specifications to us.
5) Assistance with Permitting
The most important thing to remember when starting
permitting is that it can take some time. Permits can take 1-3 weeks complete,
minus revisions. County regulations vary, and approval processes can be done in
under a week or can take a month to complete. When planning out your system, it
is important to keep these time restrictions in mind. Prior to ordering a
design kit, get a list of necessities from both your county and electric
provider. Designs will typically be sent to you through PDF format, you will
need to submit your request yourself. Many counties typically require a
licensed electrician to sign off on both the design and before the system is
permitted to be turned on. Check with your county to see if they have an
electrician that you can set up an appointment with according to your
individual timelines. People will sometimes to through the permitting process
prior to purchasing their system. If you go this route then make sure that you
check your quote expiration date, and that the solar panels you selected for
your system will be available. In the current market, lead times on solar
panels are difficult to determine so make sure that the panels will be
available at their current cost around the time you will be ready to purchase.
In conclusion, it is important to plan out your system well in advanced before you will be installing the system. After you have purchased your system, be sure to keep up to date on tracking information from the freight provider. All orders will come to you with signature confirmation, and you will need to be present to check the items. Any damage needs to be recorded on the bill of lading, if your driver will not wait for you to fully inspect the packages, note that the driver would not stay for full inspection. This ensures that you will get sent out replacements for damaged items in an appropriate amount of time. Most providers will call you 24 hours prior to delivery and when they are an hour out. If you would like to set up a time and day for delivery that best fits you, contact the provider. If you have any questions on getting the process started for your solar system contact us with your project details.


